

Darling, Little Pots de Caramel
If you think you can’t make these, you’re wrong. My crazy Aunt Polly could make these and she’s been dead for 30 years. This dessert is toe-curling, eyes roll back in your head, fan-damn-tastic. If you can master these, (and you can) you will always have the perfect dessert to share or… to hoard. I’ve been known to hide a few in the fridge for my own self. Knowing they are there, somehow makes the world’s woes feel lighter.
This is one of those recipes that relies on a few great ingredients, each one notable in the final product: brown sugar, butter, cream, milk, eggs, salt. That’s it.

Have all the ingredients out before you start, all ready to go

Espresso cups, the perfect size
OK, so you start with the cups, or the titular pots. You can use ramekins if you have them, but I have these cute little espresso cups (the top one was the gift you got on Royal Thai Airlines back in the day). It helps in the baking process if they are all relatively the same size, If not, you’ll have to take the smaller ones out first, they’ll cook faster.
You place the cups in a roasting pan, if you have one with handles like this, that’s better. It makes getting it in and out of the oven, when it’s half filled (or empty for you pessimists) with water easier. Don’t crowds them too much, they need room to breathe. So far, not hard, right?

The All-Clad Roaster proves its worth, again
Now we start the actual cooking part. Is there anything in this world that smells better than the aroma of sweet butter bubbling in a pan? Careful here, in your exuberance and heady melting butter delirium you may burn the butter. So… watch it and swirl it around in the pan so it melts evenly.

Now, add the brown sugar. Some recipes call for light brown sugar or even white sugar. I prefer the dark brown. It has a robust, caramel flavor — almost vulgar in its unabashed amber deliciousness. Also, it makes the color of the finished custard more appetizing IMHO.

Gorgeous, right?
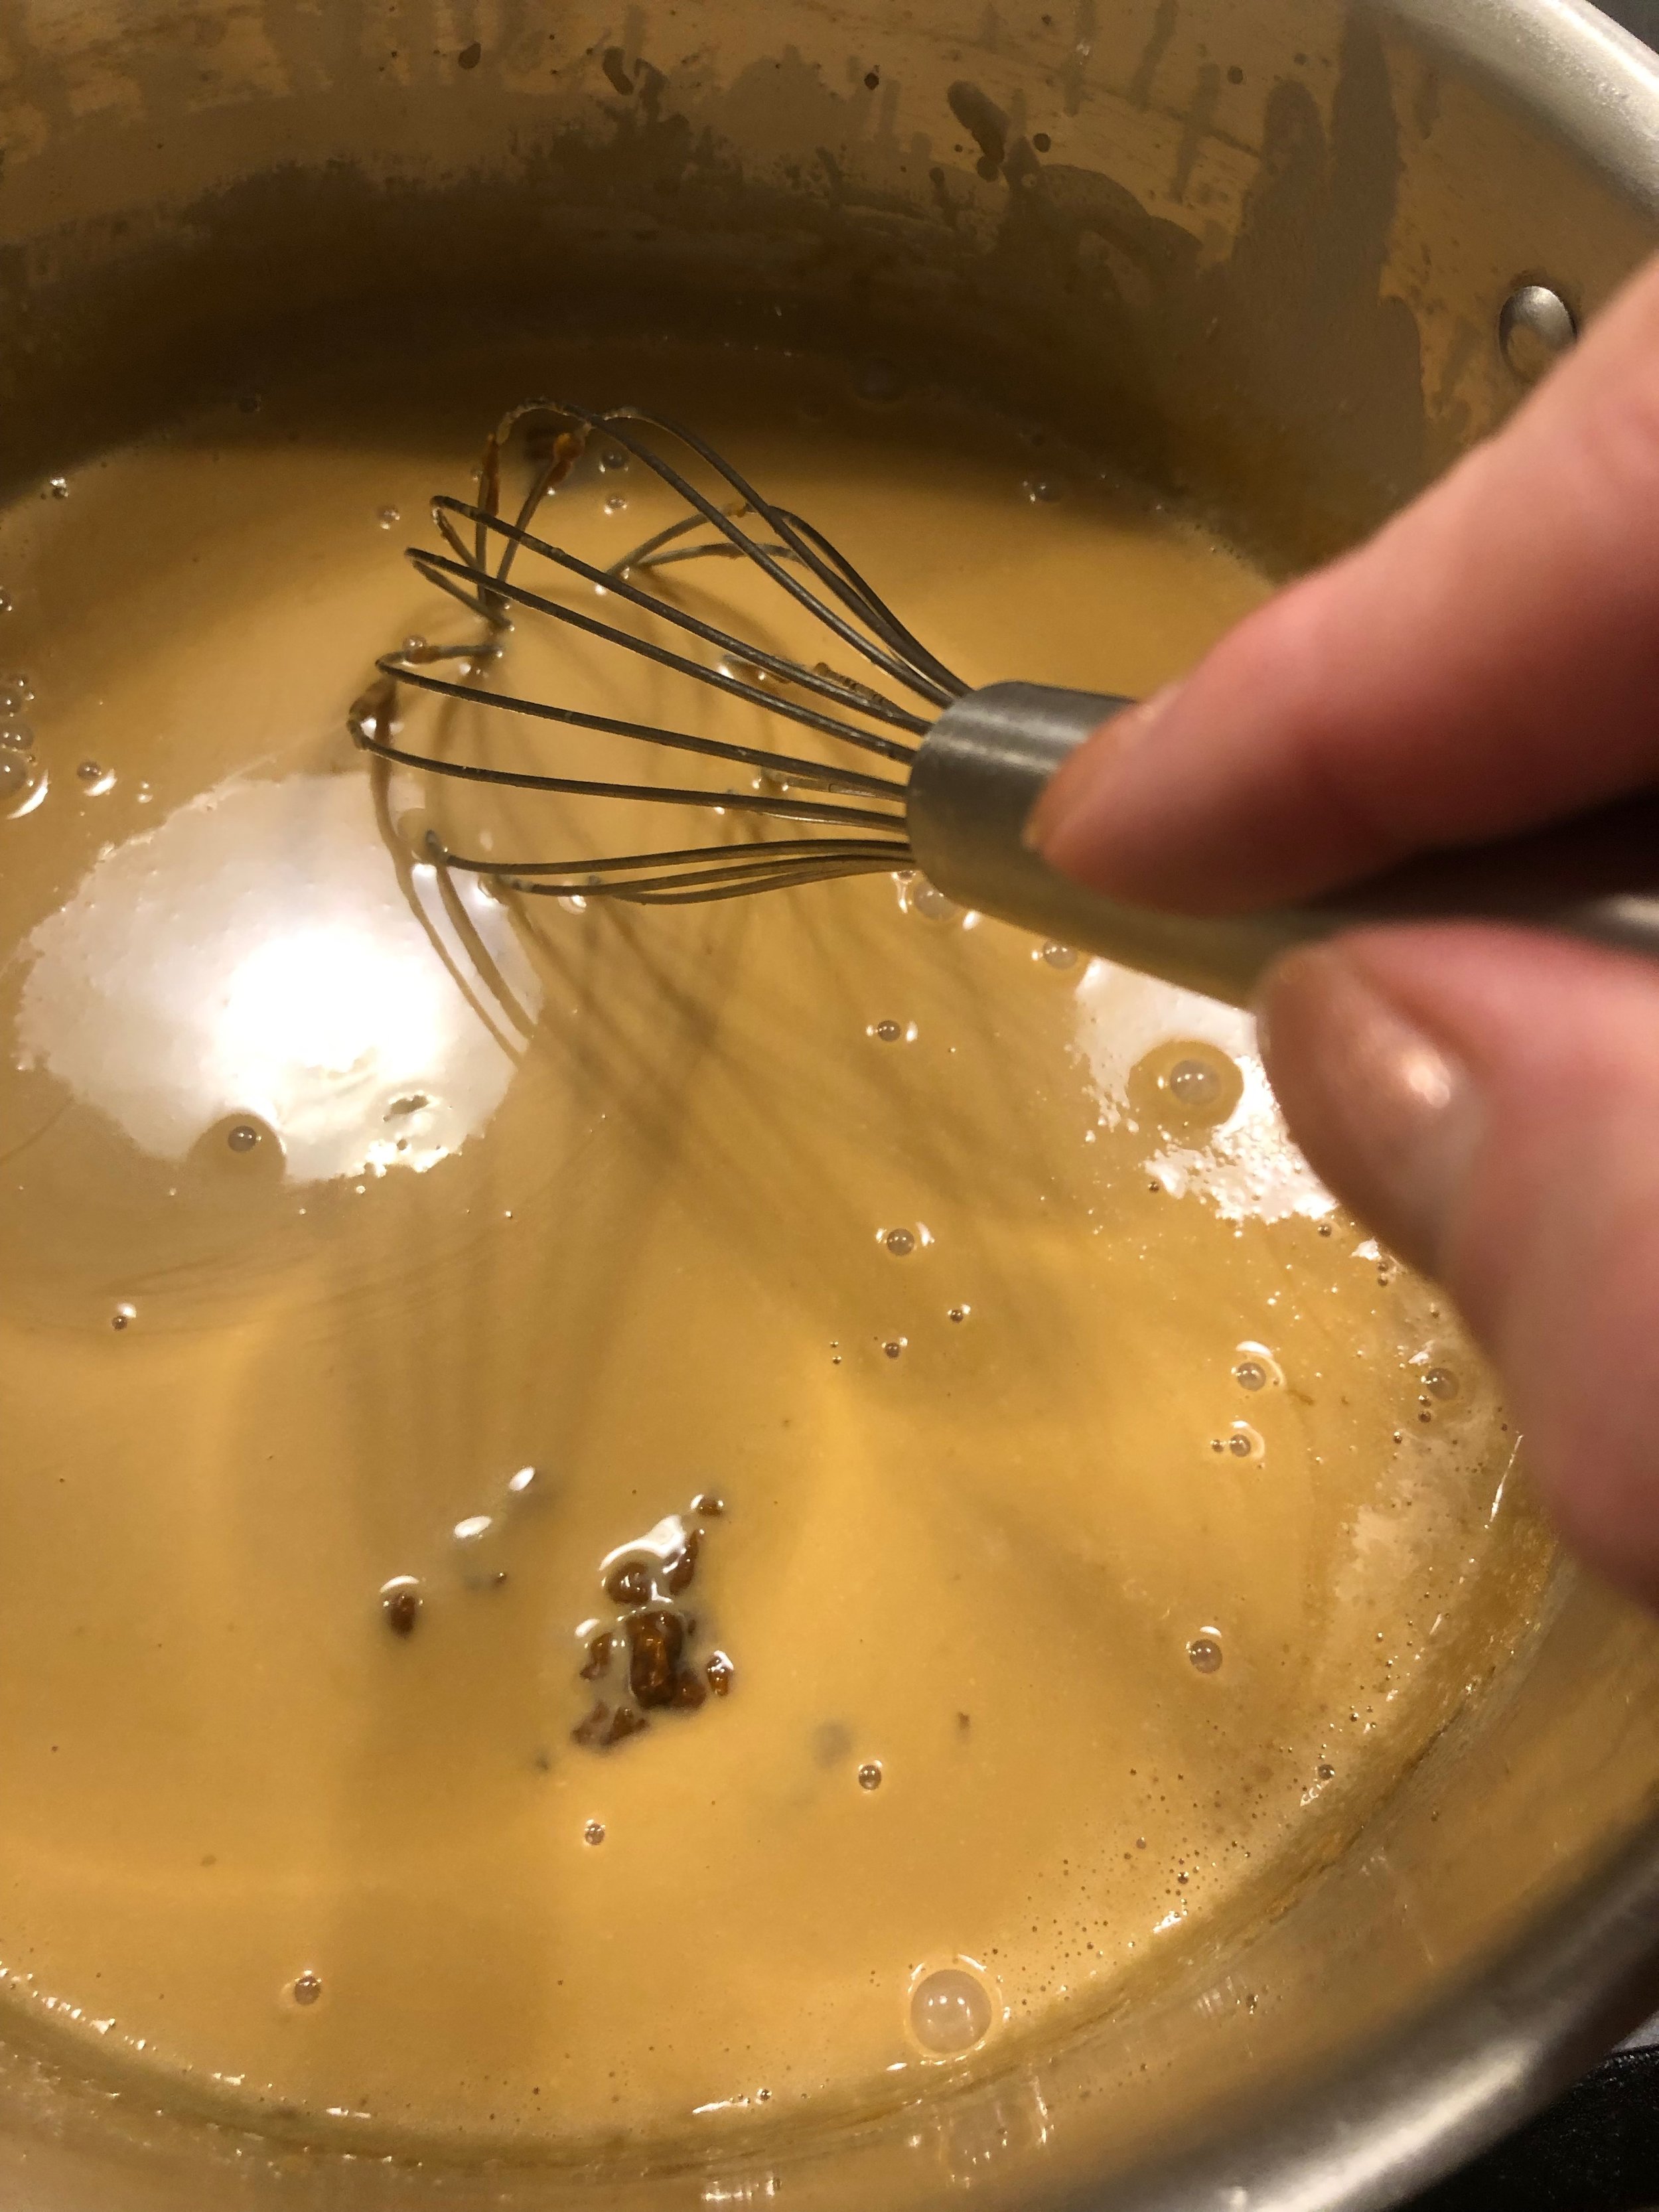
Whoops! What the hell happened? Well, I’ll tell you… I added the cream and it bubbled like crazy, which is exactly what’s supposed to happen — but in the process, the cream seized the caramel (translation: made it hard like candy). No worries! With a bit of time and a bit of patience, you can melt the hard caramel and as it melts the color will deepen.

See? After a few minutes we are well on our way. Don’t rush it though, you don’t want it to start boiling when there are still hard bits of candy floating around. As you whisk it, you should be able to see little amber trails as the caramel melts.

Perfect and ready to add the milk
If you add the cream more slowly, a few tablespoons at a time, you won’t have this problem. Now that the whole milk has been added (yes, you need whole milk, live a little!) you pour it through a mesh sieve. This will ensure the texture of the finished product is silky smooth. Don’t skip this step, it makes for a few more dishes in the washing up, but it’s sooooooo worth it.


Ready to cover with foil. The water gets added once the pan is in the oven.

Leave a little space so you can add the water in a bit once its in the oven
Add the hot water carefully and slowly. The water level should come up the sides of the custard cups about half way. Fold the foil corner back over the pan and seal (it won’t be a tight seal and that’s AOK). Now carefully slide the pan into the oven so sloshing is minimized and… have glass of wine as you are now an honorary French chef!

Pots De Caramel
Makes 8 - 10, depending on the size
Active Time: 20 minutes
Baking Time: 40 - 60 minutes
Cooling Time: 3 - 4 Hours
THE STUFF:
1/2 stick Unsalted Butter
3/4 cup packed Dark Brown Sugar
1/2 teaspoon Kosher Salt
1 & 3/4 cups Heavy Cream
3/4 cup Whole Milk
6 large Egg Yolks
Nice salt, like Maldon, for garnish
THE FUN PART:
Take out all but one rack in your oven, position the remaining one in the center.
Melt the butter over low to medium-low heat in a large heavy-bottomed saucepan. Once melted, whisk in the brown sugar and kosher salt. Whisk for about 5 minutes, the mixture will be sloppy and thick and there will be a lovely, nutty fragrance when it’s ready.
Turn down the heat, and very gradually whisk in the cream, a few tablespoons to a 1/4 cup at a time. The mixture will bubble like crazy, don’t worry. It may ‘seize’ when the cream is added, this is OK too. Whisk for about 5 minutes, or until the hardened caramel has dissolved, pay close attention to the pan’s inside edge. When the mixture begins to boil, off the heat and whisk in the milk.
Preheat your oven to 325°
Stir the egg yolks to blend to an even yellow color. Gradually whisk the warm caramel mixture into the eggs. Strain through a fine mesh sieve into a 4-cup liquid measuring cup or a bowl with a spout. Pour the caramel cream into the cups, dividing it equally and leaving a bit of a gap at the top, about 1/4 inch.
Place the pan in the oven, with the exposed corner close to you. This part is a bit tricky: pour hot water into the pan, but avoiding the contents of the cups! The water should come up halfway on the sides of the cups. With the water added, cover the open corner with the foil. And pat yourself on the back, you just made a bain marie.
Bake the little darlings for about 40 minutes, or until they are just firm around the edges but still jiggle a bit when the cups are gently shaken. Steam will escape when you peel back the foil, so be careful.
Very carefully, remove the cups from the pan (I use rubber tips tongs) and cool for about 1 hour on the counter a wire rack. Cover each cup with plastic wrap and refrigerate until chilled, at least 4 hours.
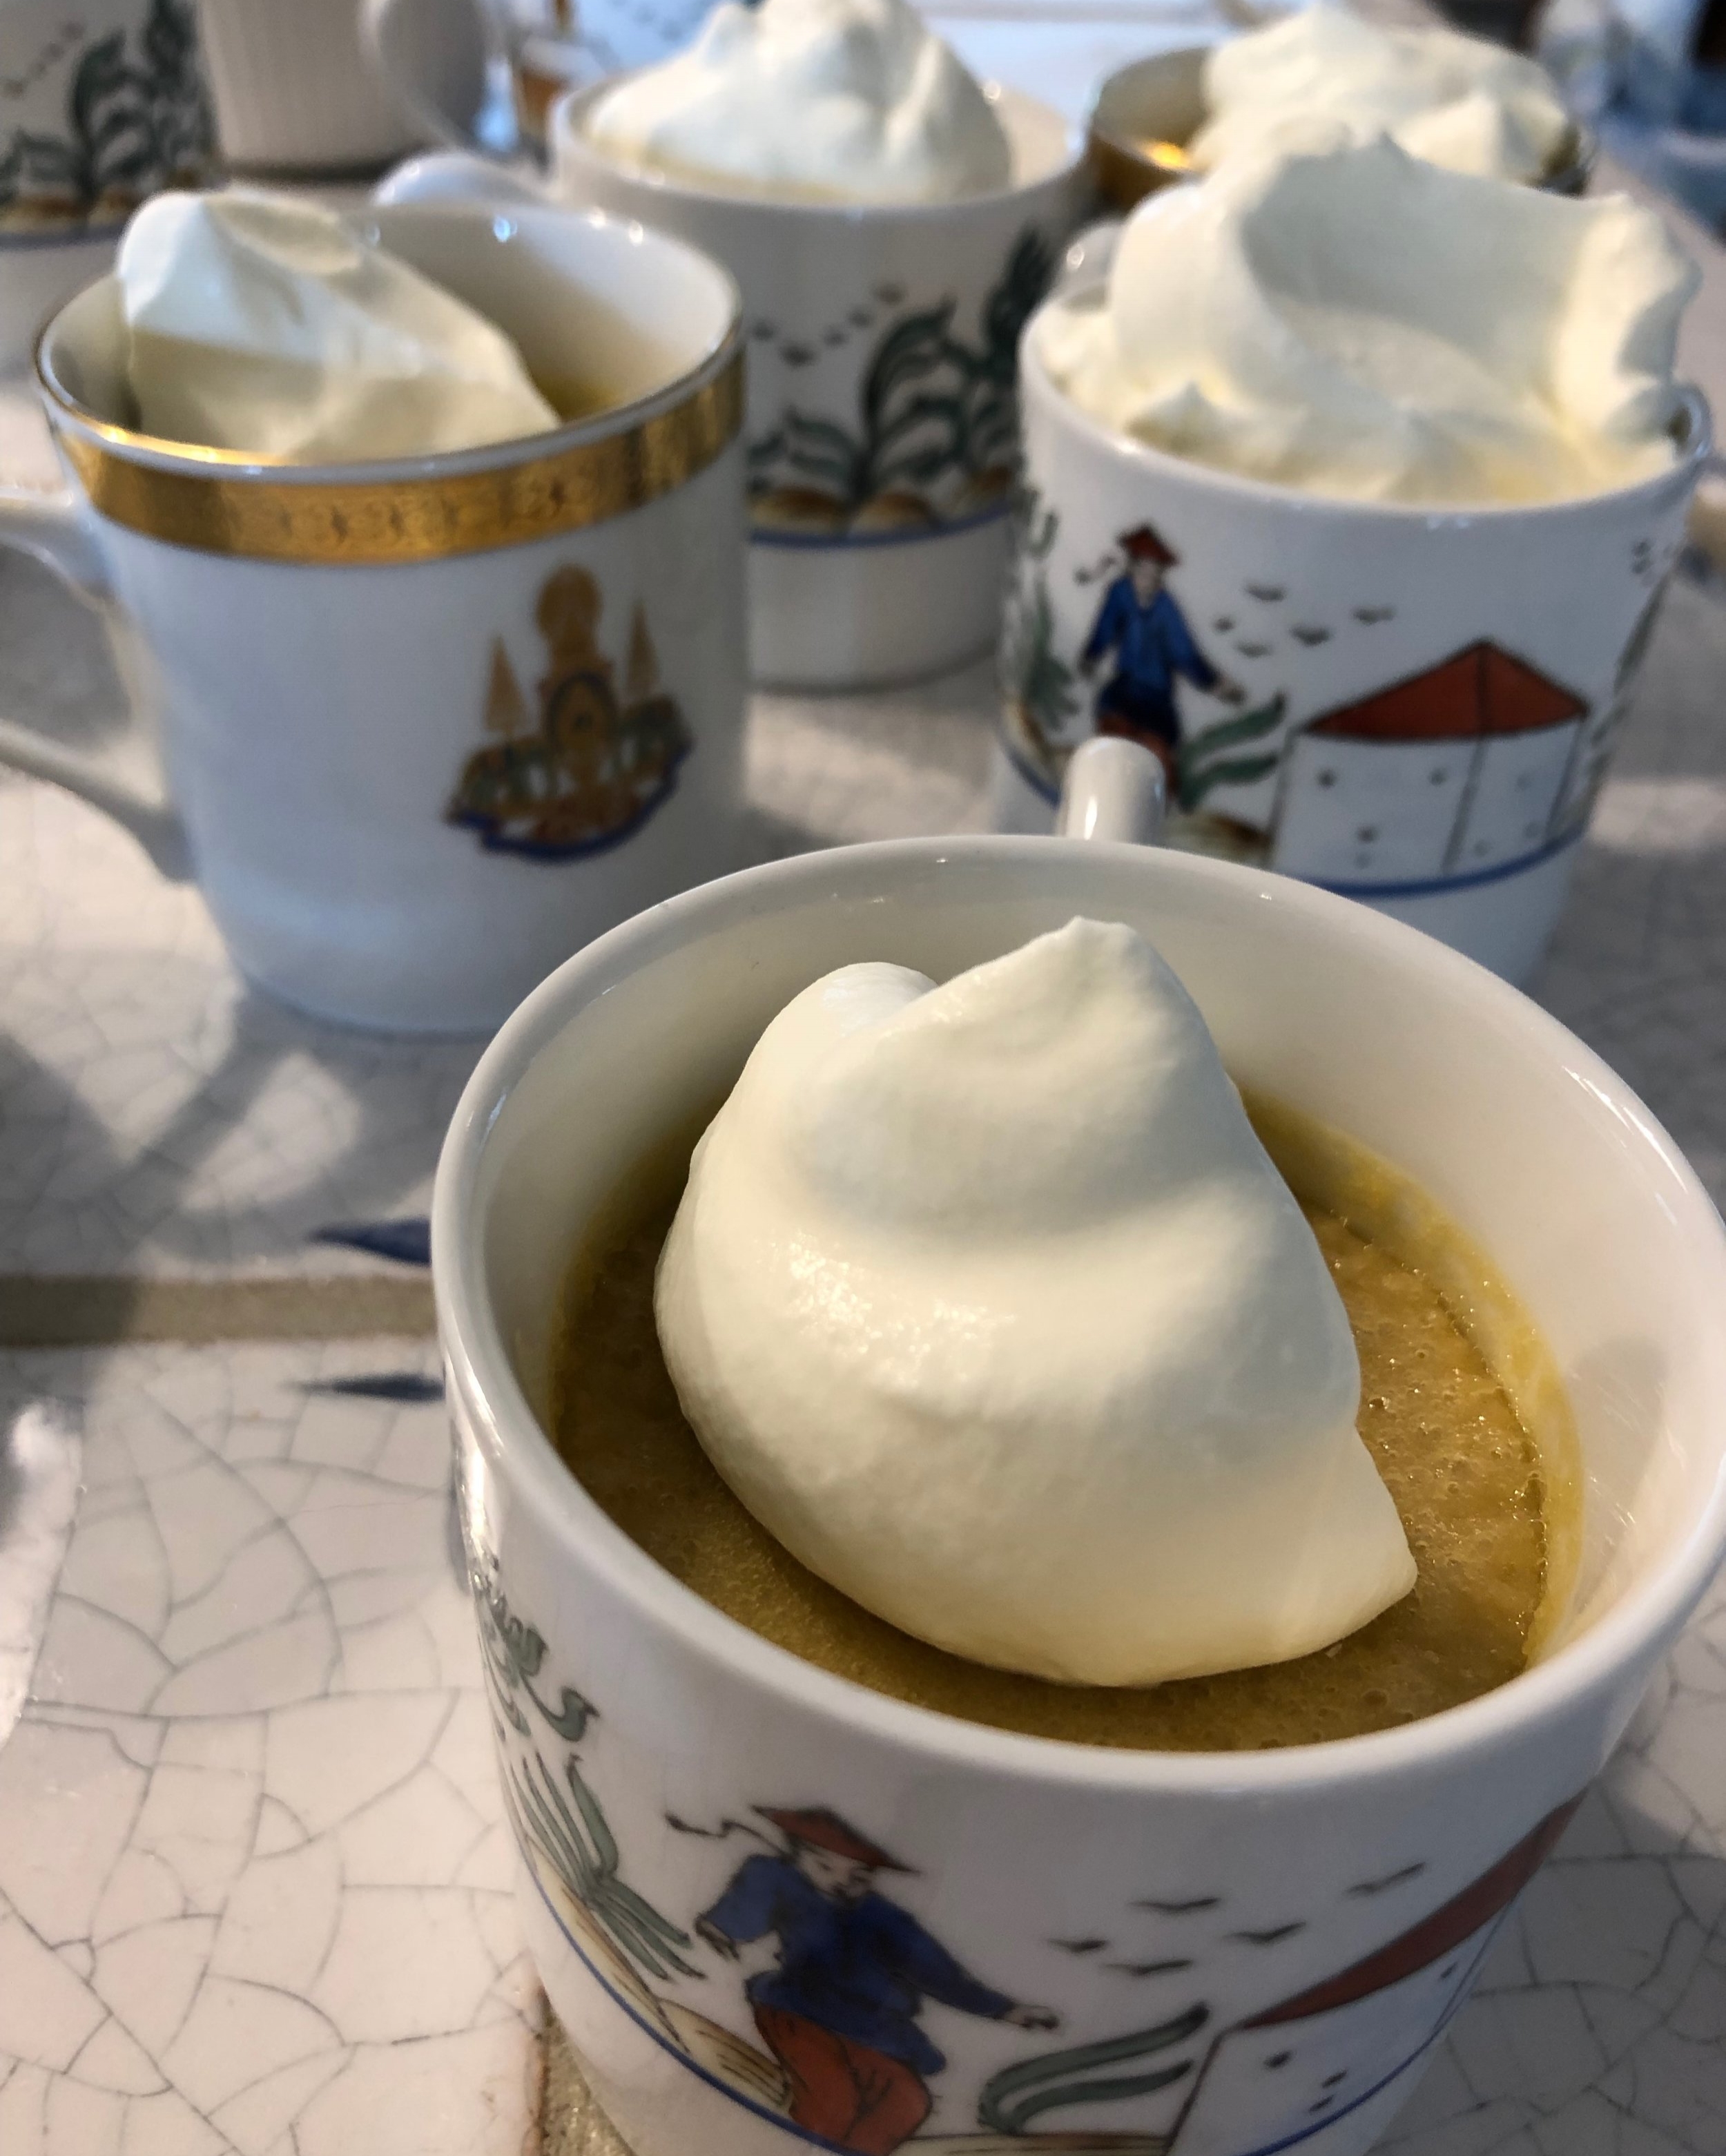
Sprinkle a pinch of sea salt over each pot de crème and serve chilled. A bit of whipped cream on top wouldn’t be the worst idea.
They’ll keep for about 4 days, but they won’t last that long, promise.
Based on a recipe from Curtis Stone

Out of the oven!

Once cooled, sprinkle with a tiny bit of Maladon salt

A wee dollop of whipped cream and voila!


